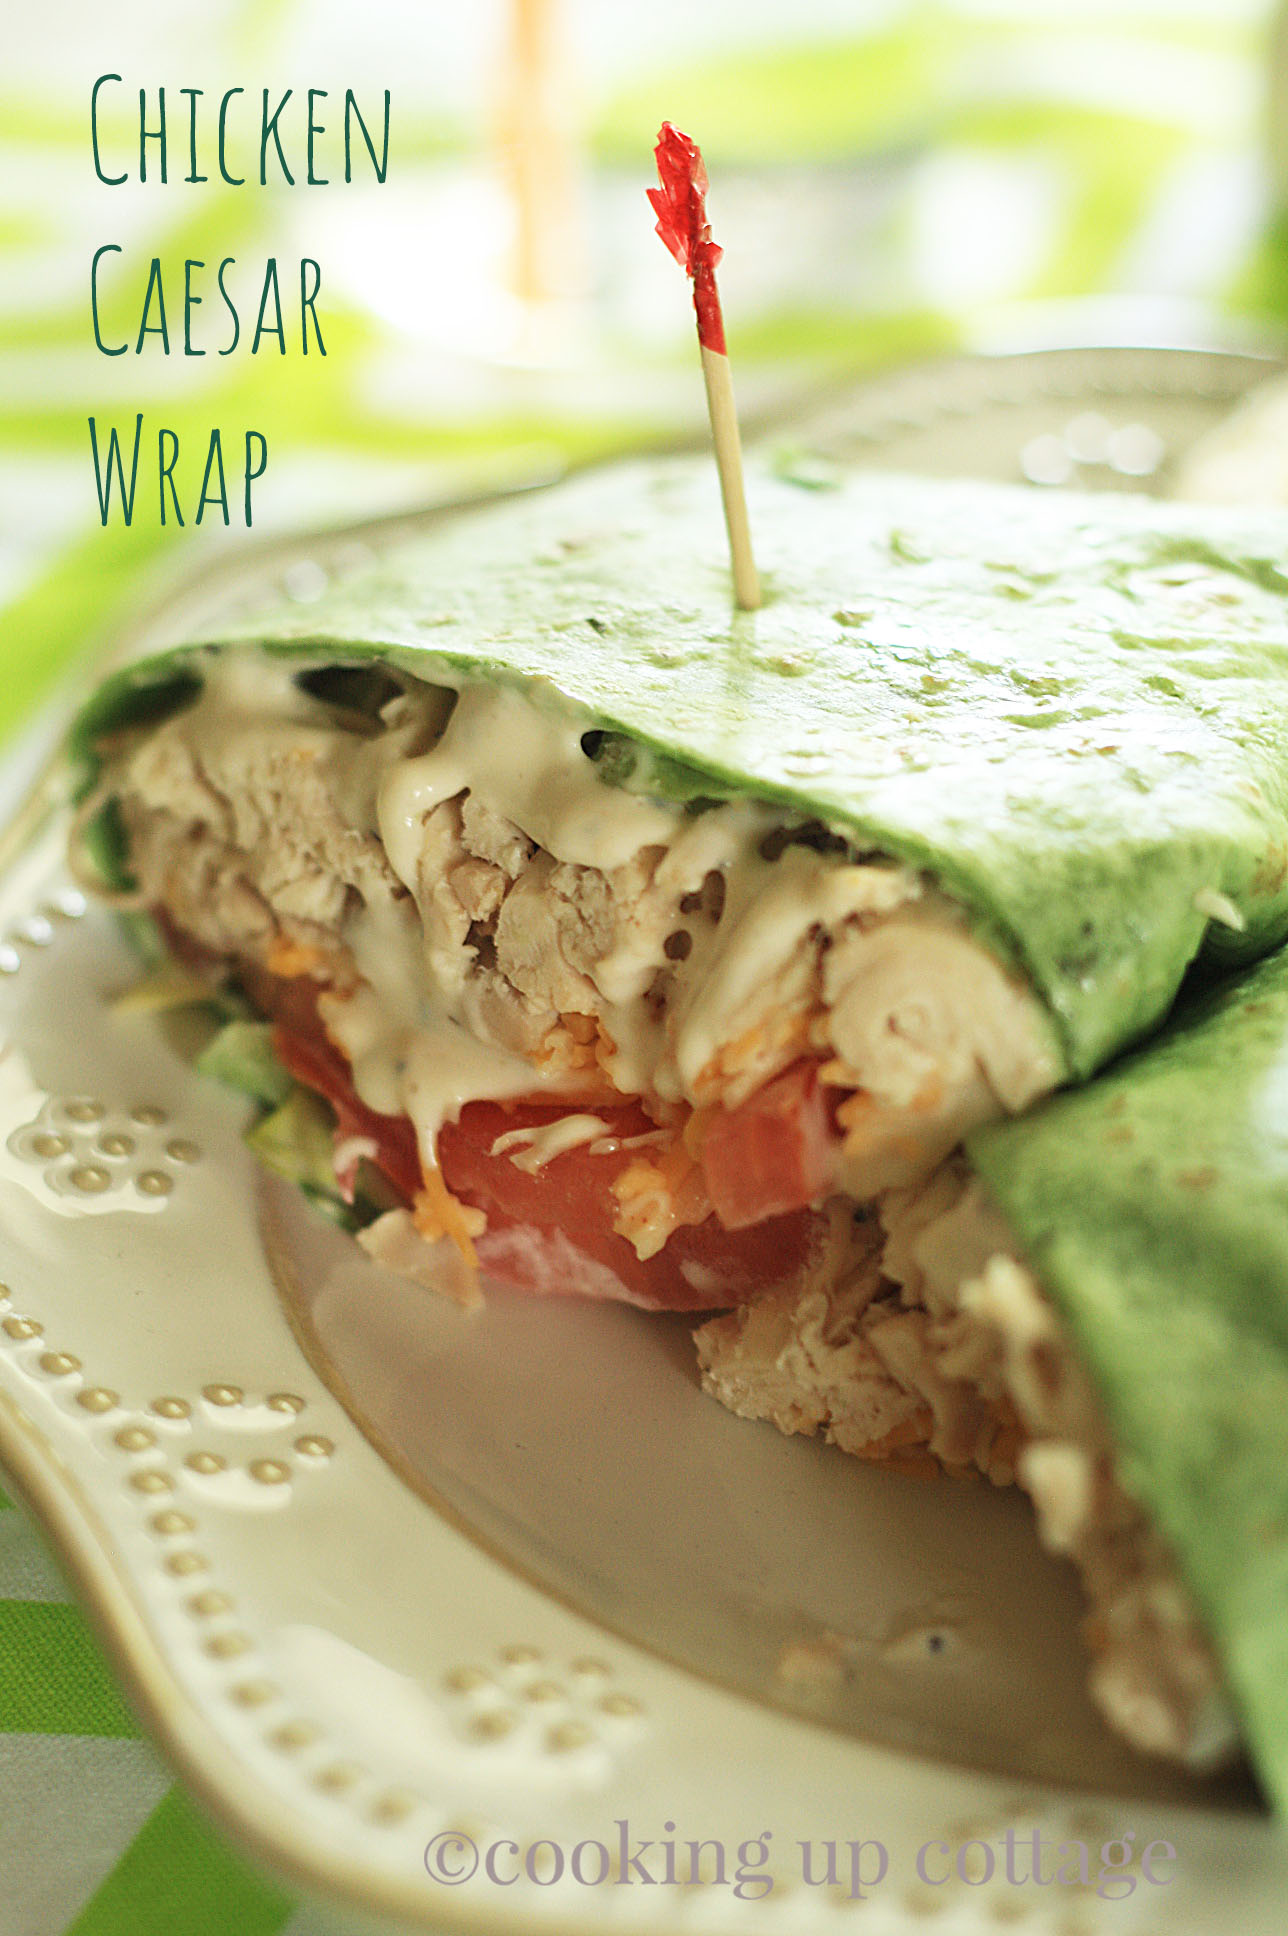
 This wrap is an amazing combination of savory chicken and flavorful Caesar dressing that will make your meal planning a breeze.
Have you tried all of the wrap sandwiches at restaurants lately? It seems like they are popping up on menus all over town. Well, I have a favorite and I wanted to recreate it here on the blog so I can have it for a simple lunch or light supper anytime. This recipe is so easy to make because it uses rotisserie chicken, which is exactly what I need on those busy school nights. So let’s get out the ingredients and develop our wrapping skills for this wonderful recipe.
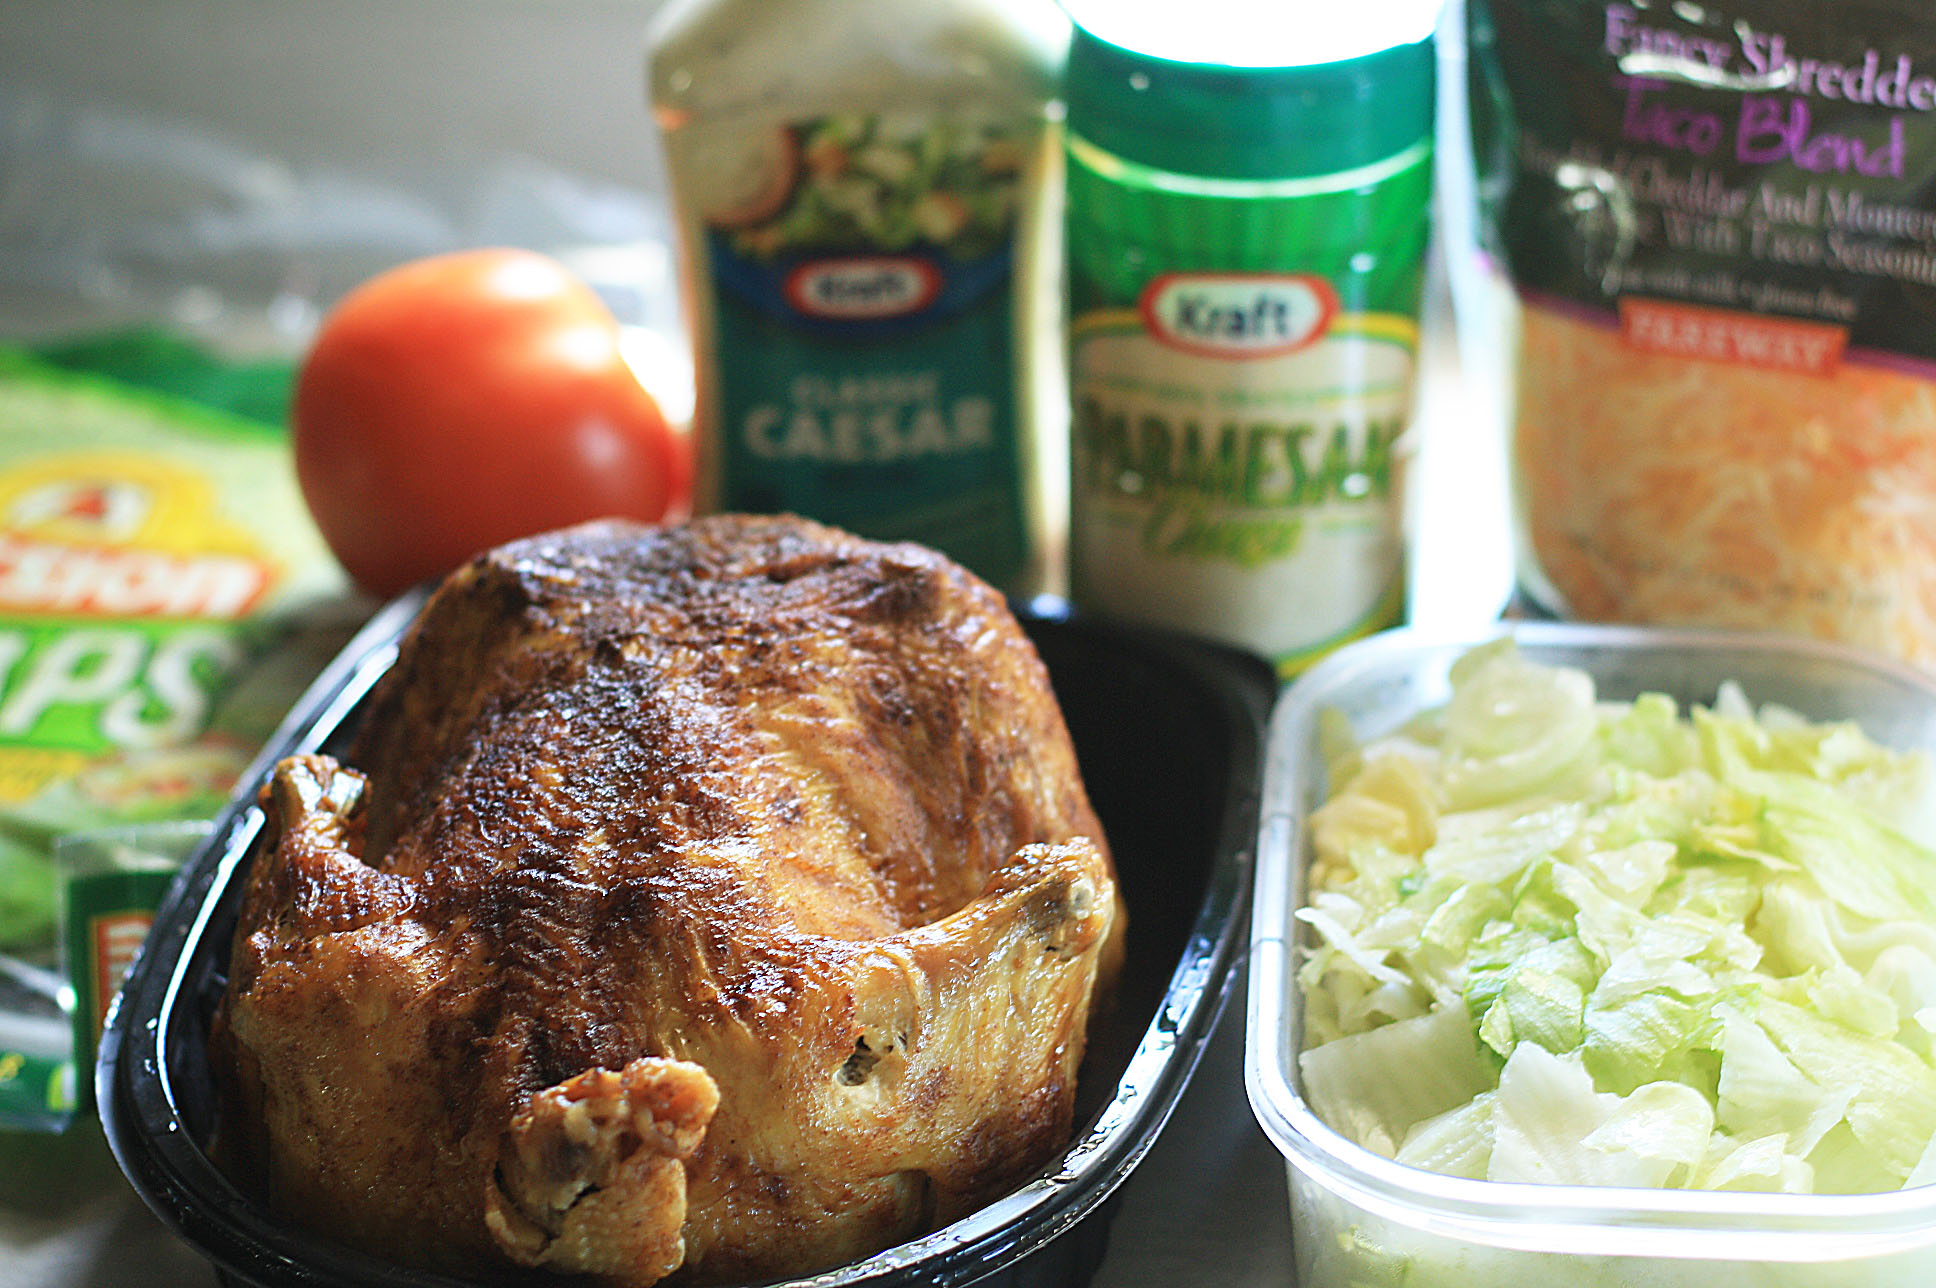
You will need 3 cups of shredded cooked rotisserie chicken, 2 cups of shredded cheddar and Monterey jack cheese, 8 tablespoons of Caesar dressing, 4 tablespoons of grated Parmesan cheese, 1 sliced tomato, shredded lettuce, and 4 large Mission garden spinach and herb tortilla wraps.
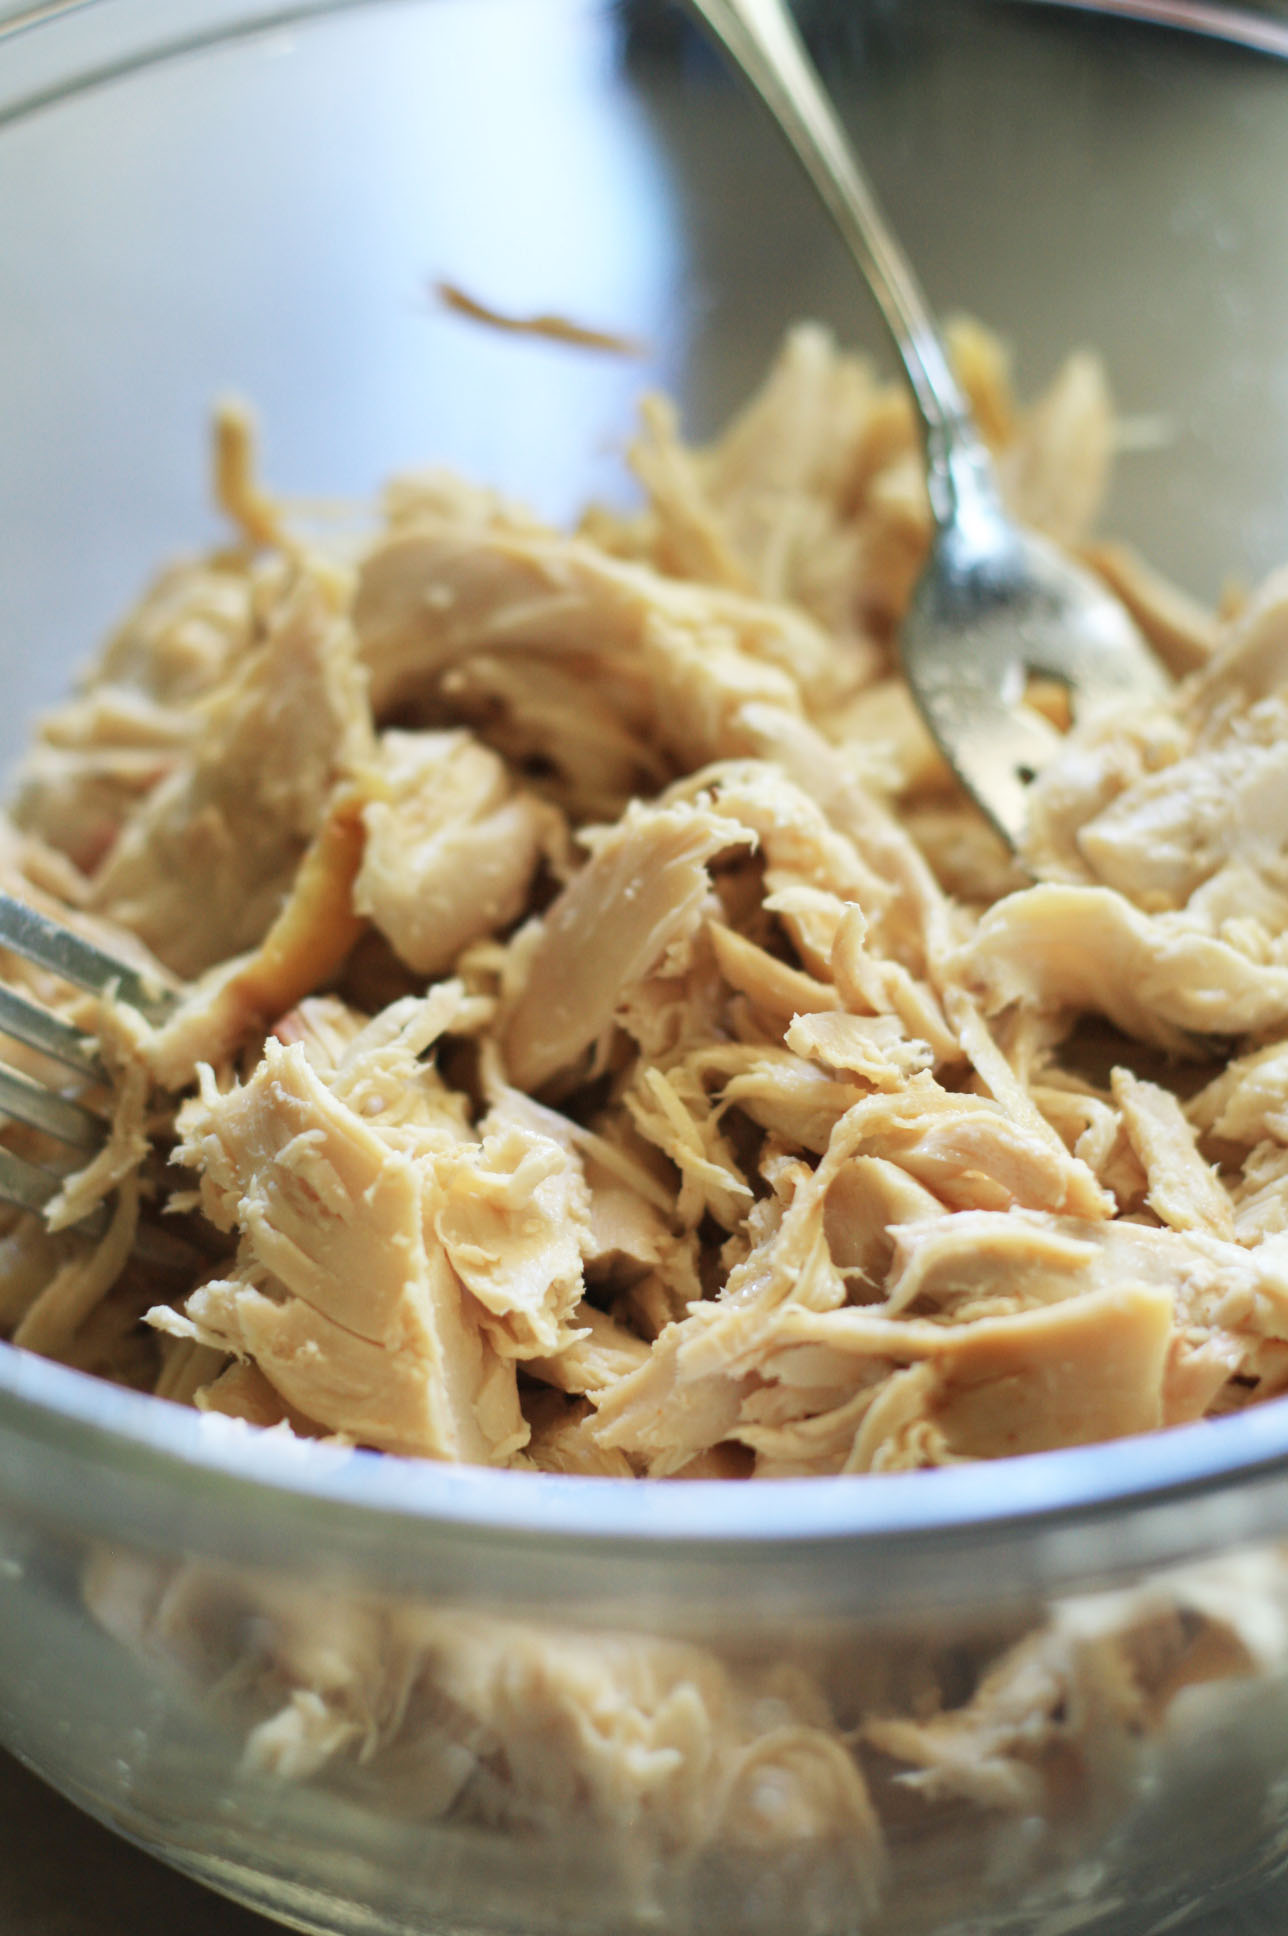
 Start by shredding three cups of chicken.
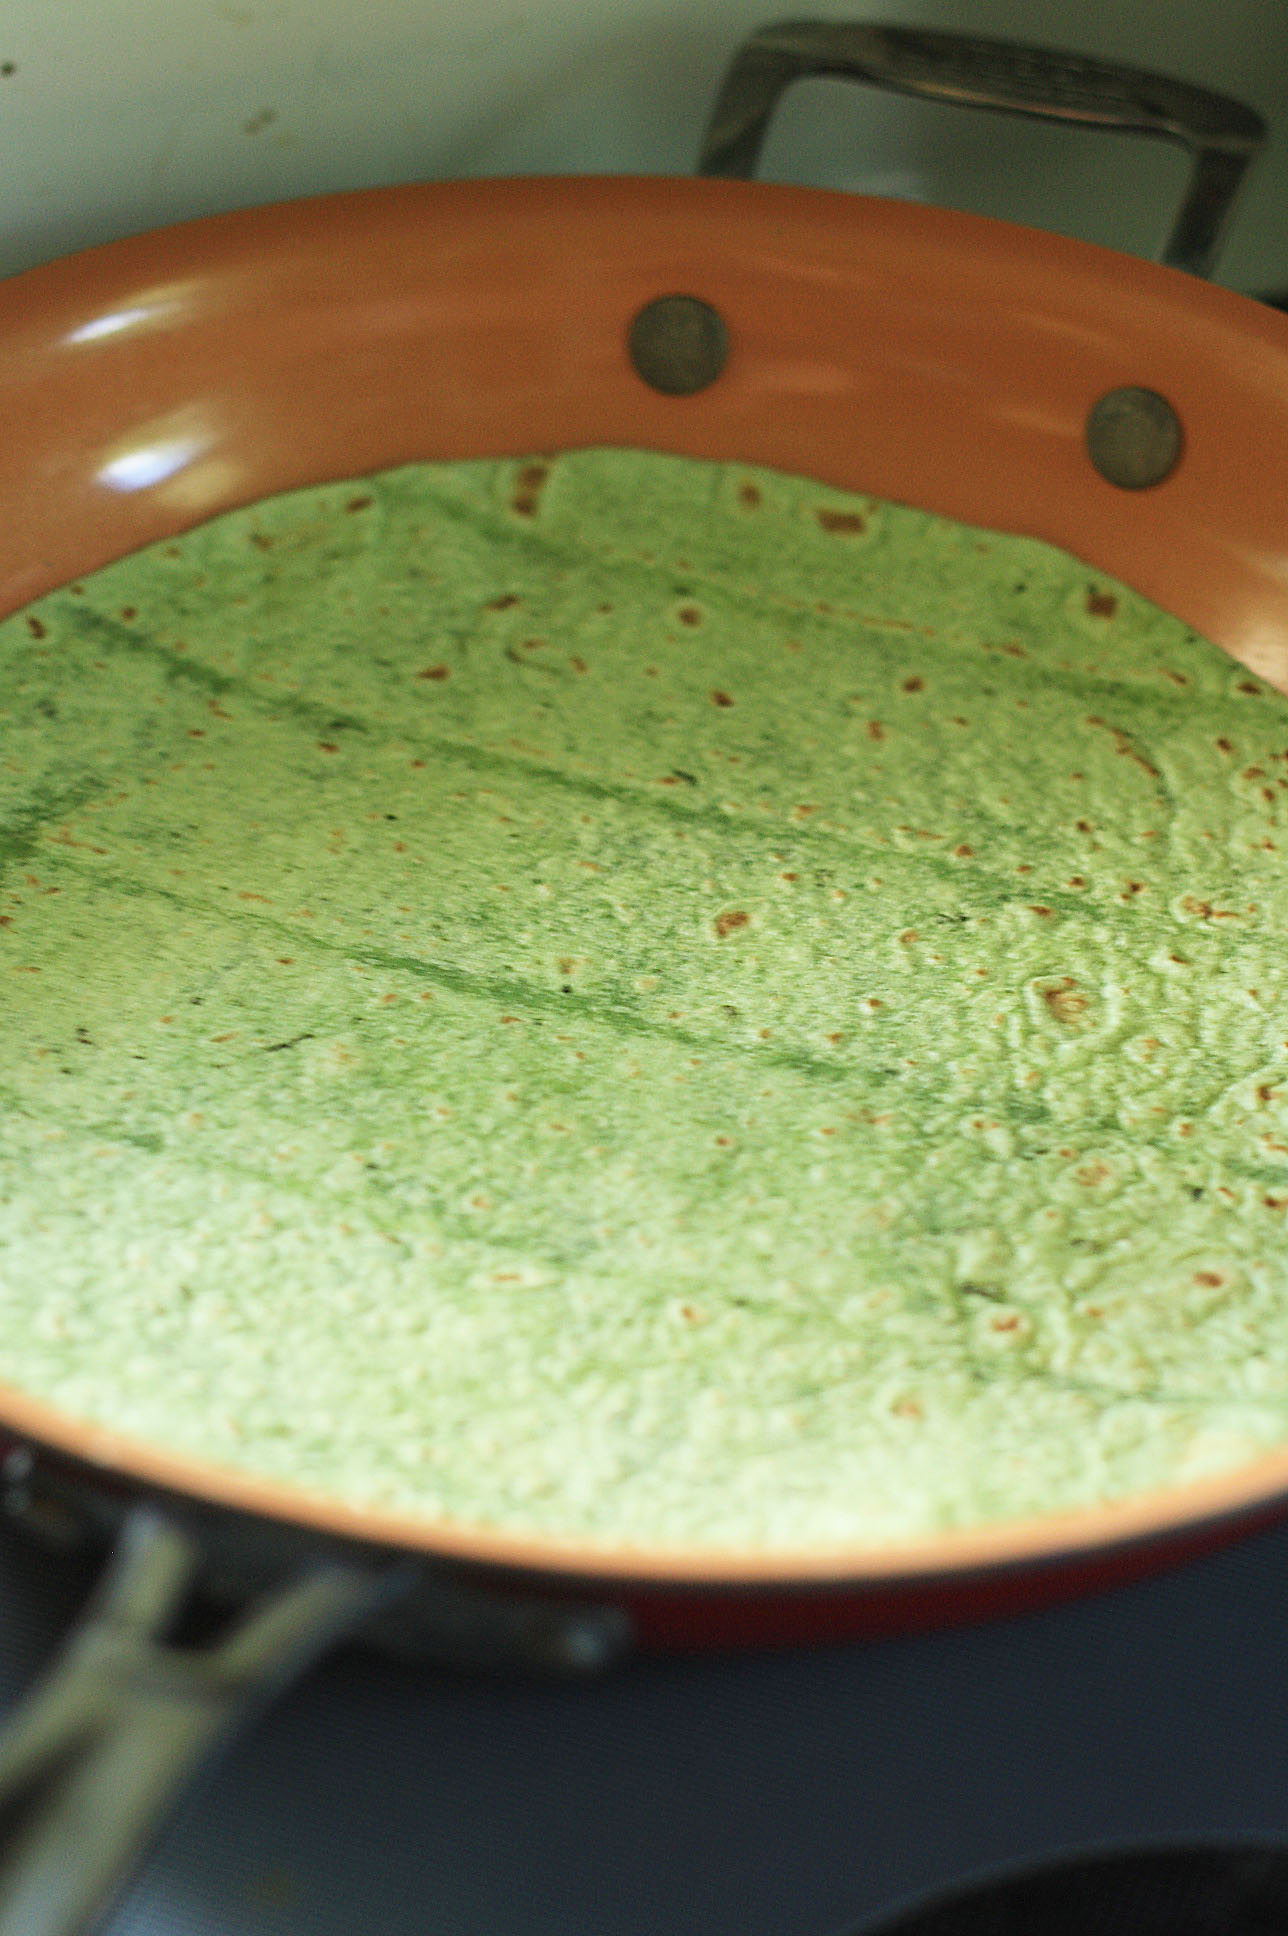
 Warm the tortillas according to the package directions.
 Now add 3/4 of a cup of shredded chicken, 1/2 cup of cheese, 2 tablespoons of Caesar dressing, 1 tablespoon of grated Parmesan cheese, 2 slices of tomato, and shredded lettuce to each of the four wraps.
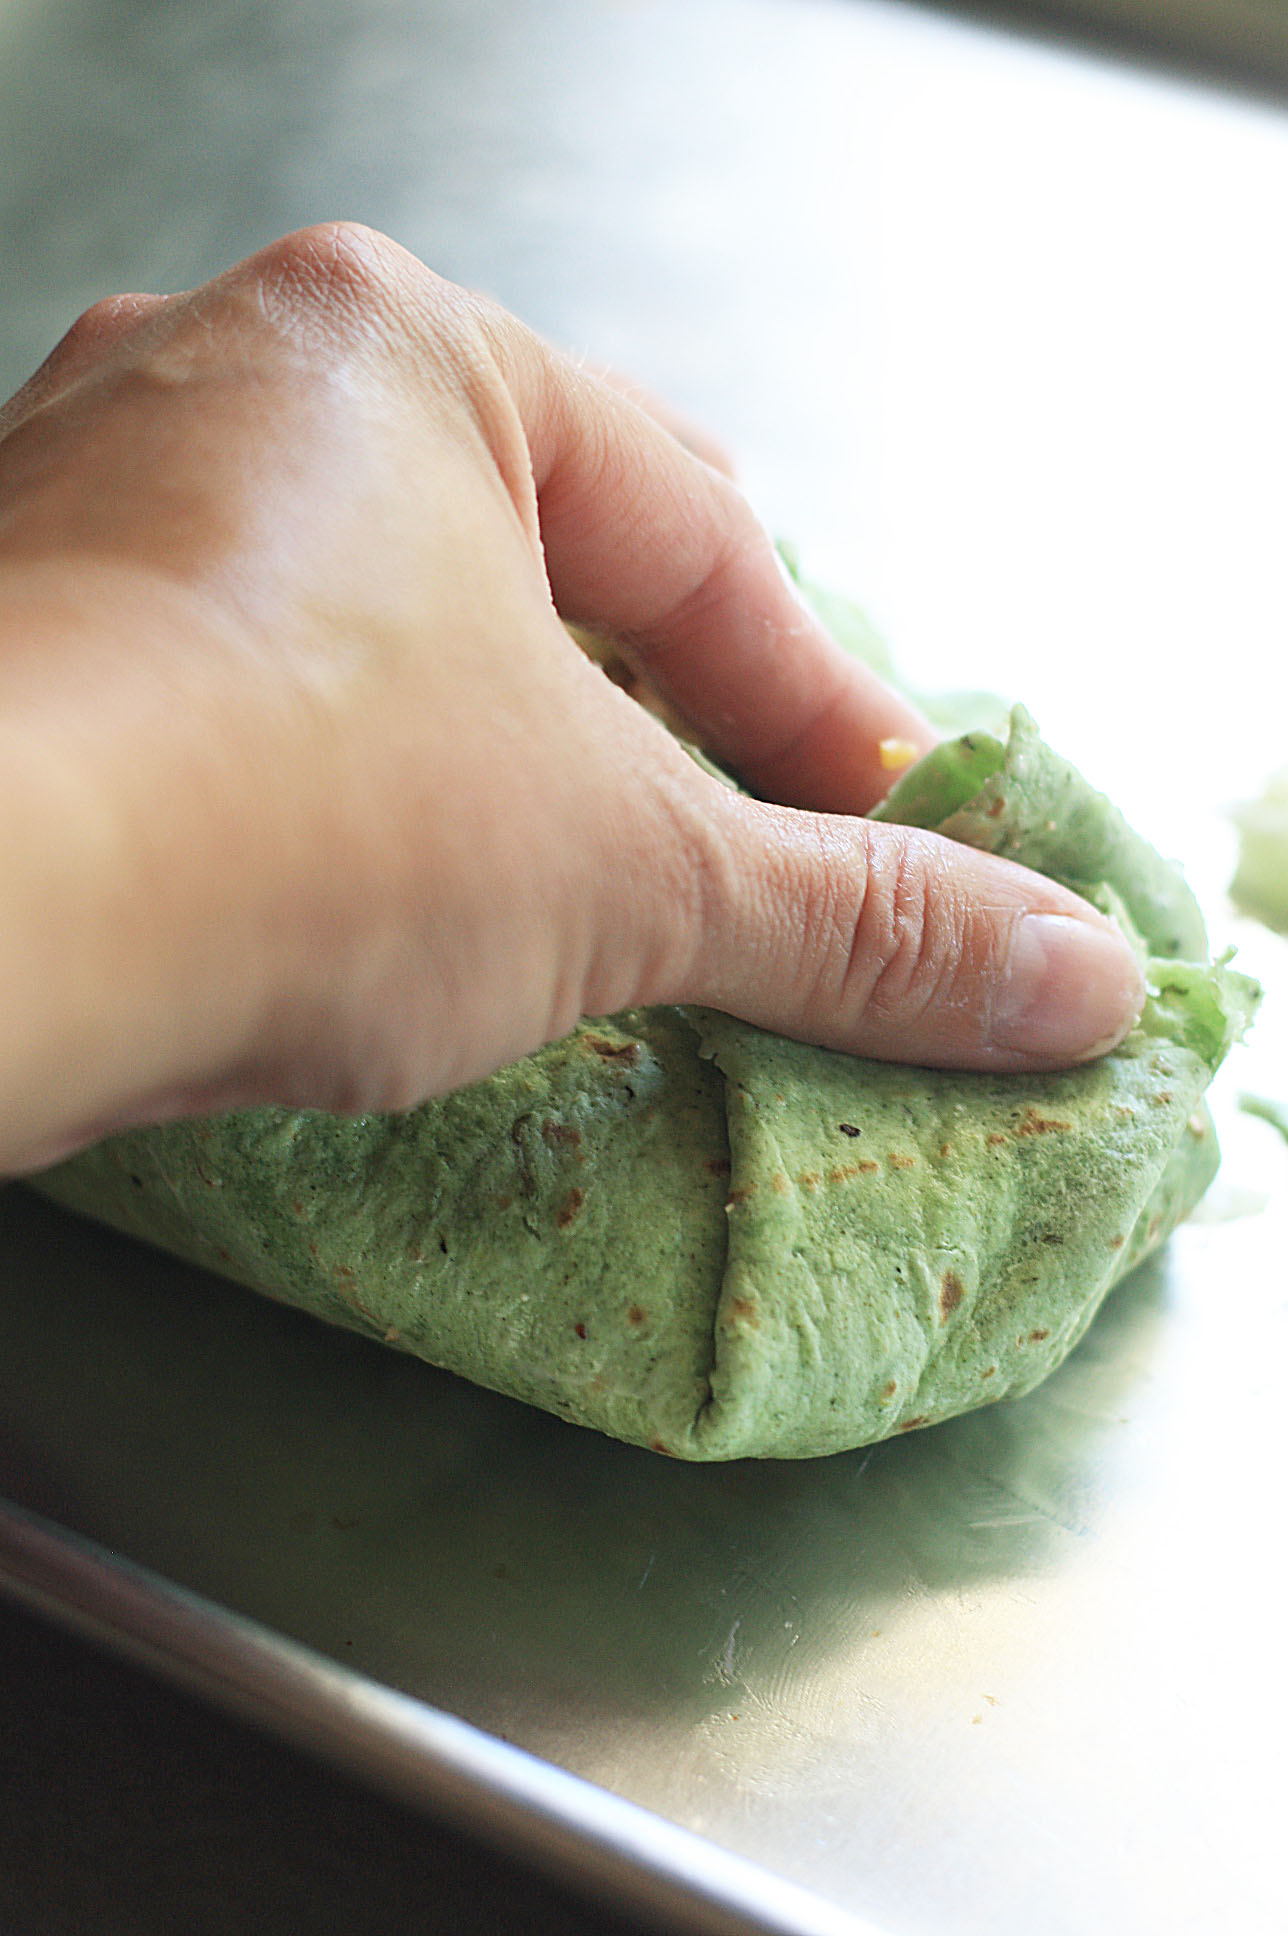
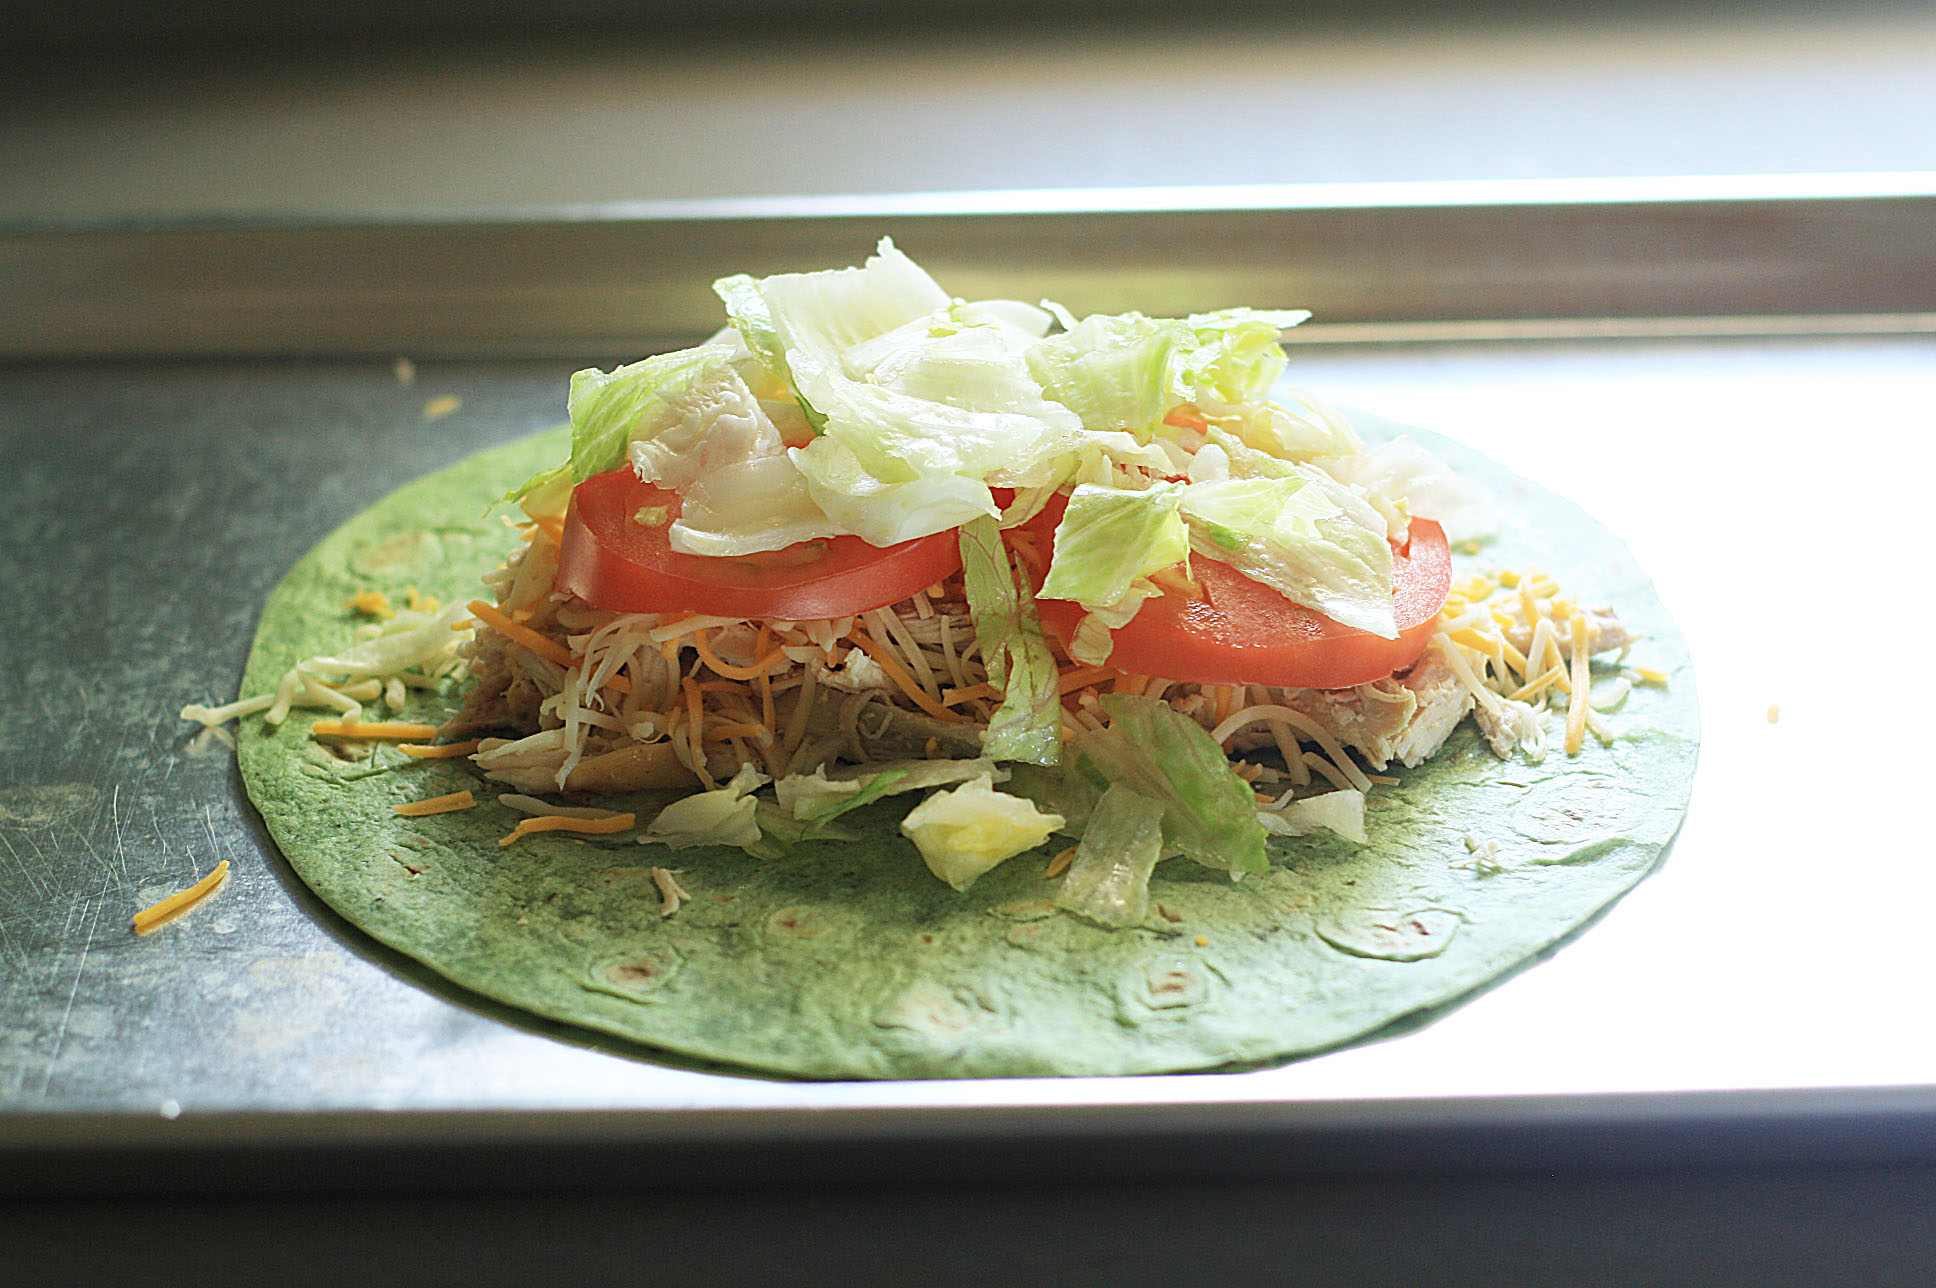 Now fold the sides in on the tortilla and slice it in half. Now you’re ready to enjoy this delicious wrap.
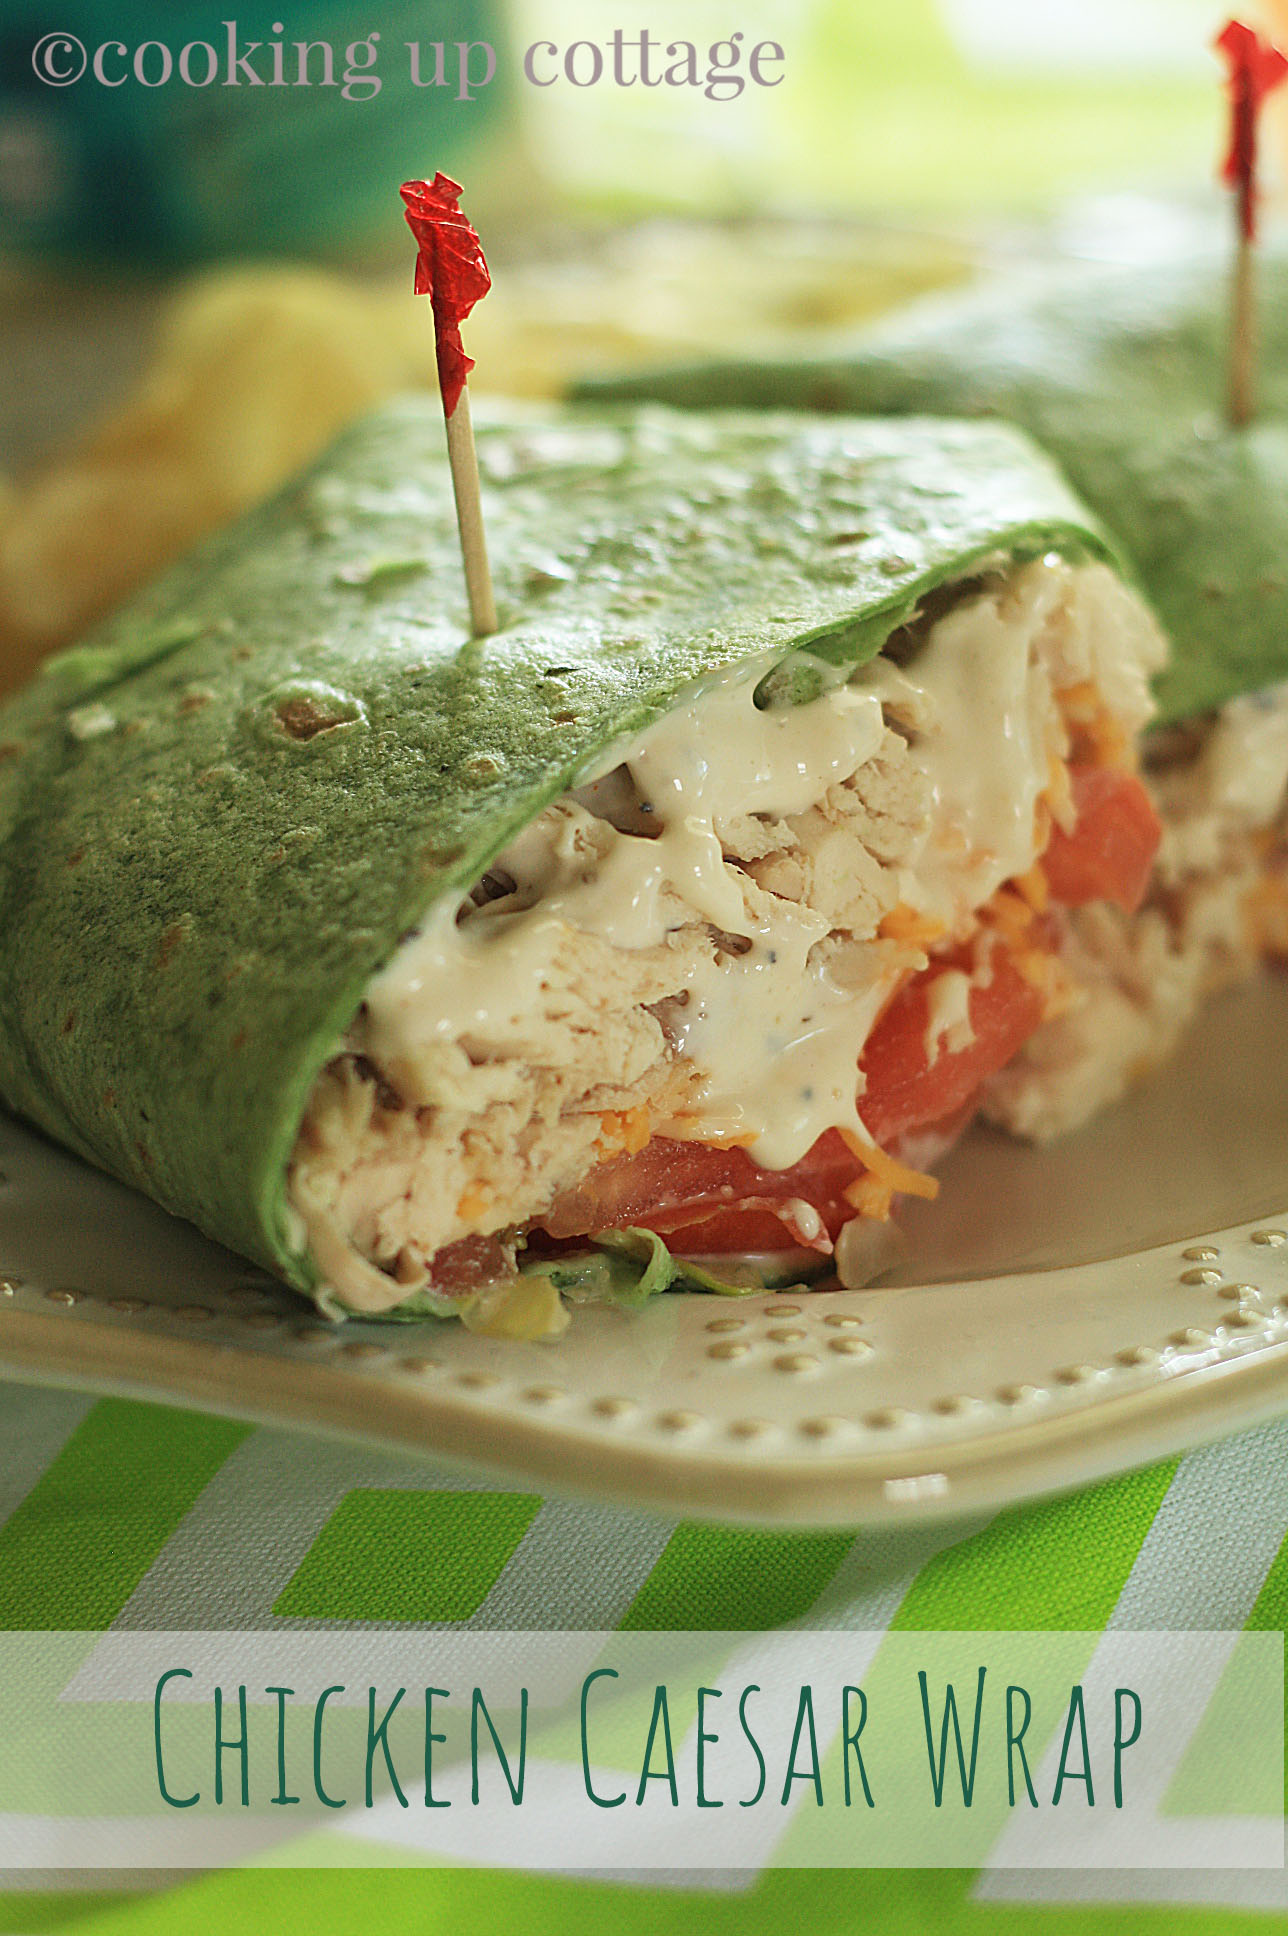
- 3 cups of shredded cooked rotisserie chicken
- 2 cups of shredded cheddar and Monterey jack cheese
- 8 tablespoons of Caesar dressing
- 4 tablespoon of grated Parmesan cheese
- 1 sliced tomato
- shredded lettuce
- 4 large Mission garden spinach and herb tortilla wraps
- Start by shredding three cups of cooked rotisserie chicken. Warm the tortillas according to the package directions. Now add 3/4 of a cup of shredded chicken, 1/2 cup of cheese, 2 tablespoons of Caesar dressing, 1 tablespoon of grated Parmesan cheese, 2 slices of tomato, and shredded lettuce to each of the four wraps. Now fold the sides in on the tortilla and slice it in half. Now you're ready to enjoy this delicious wrap.