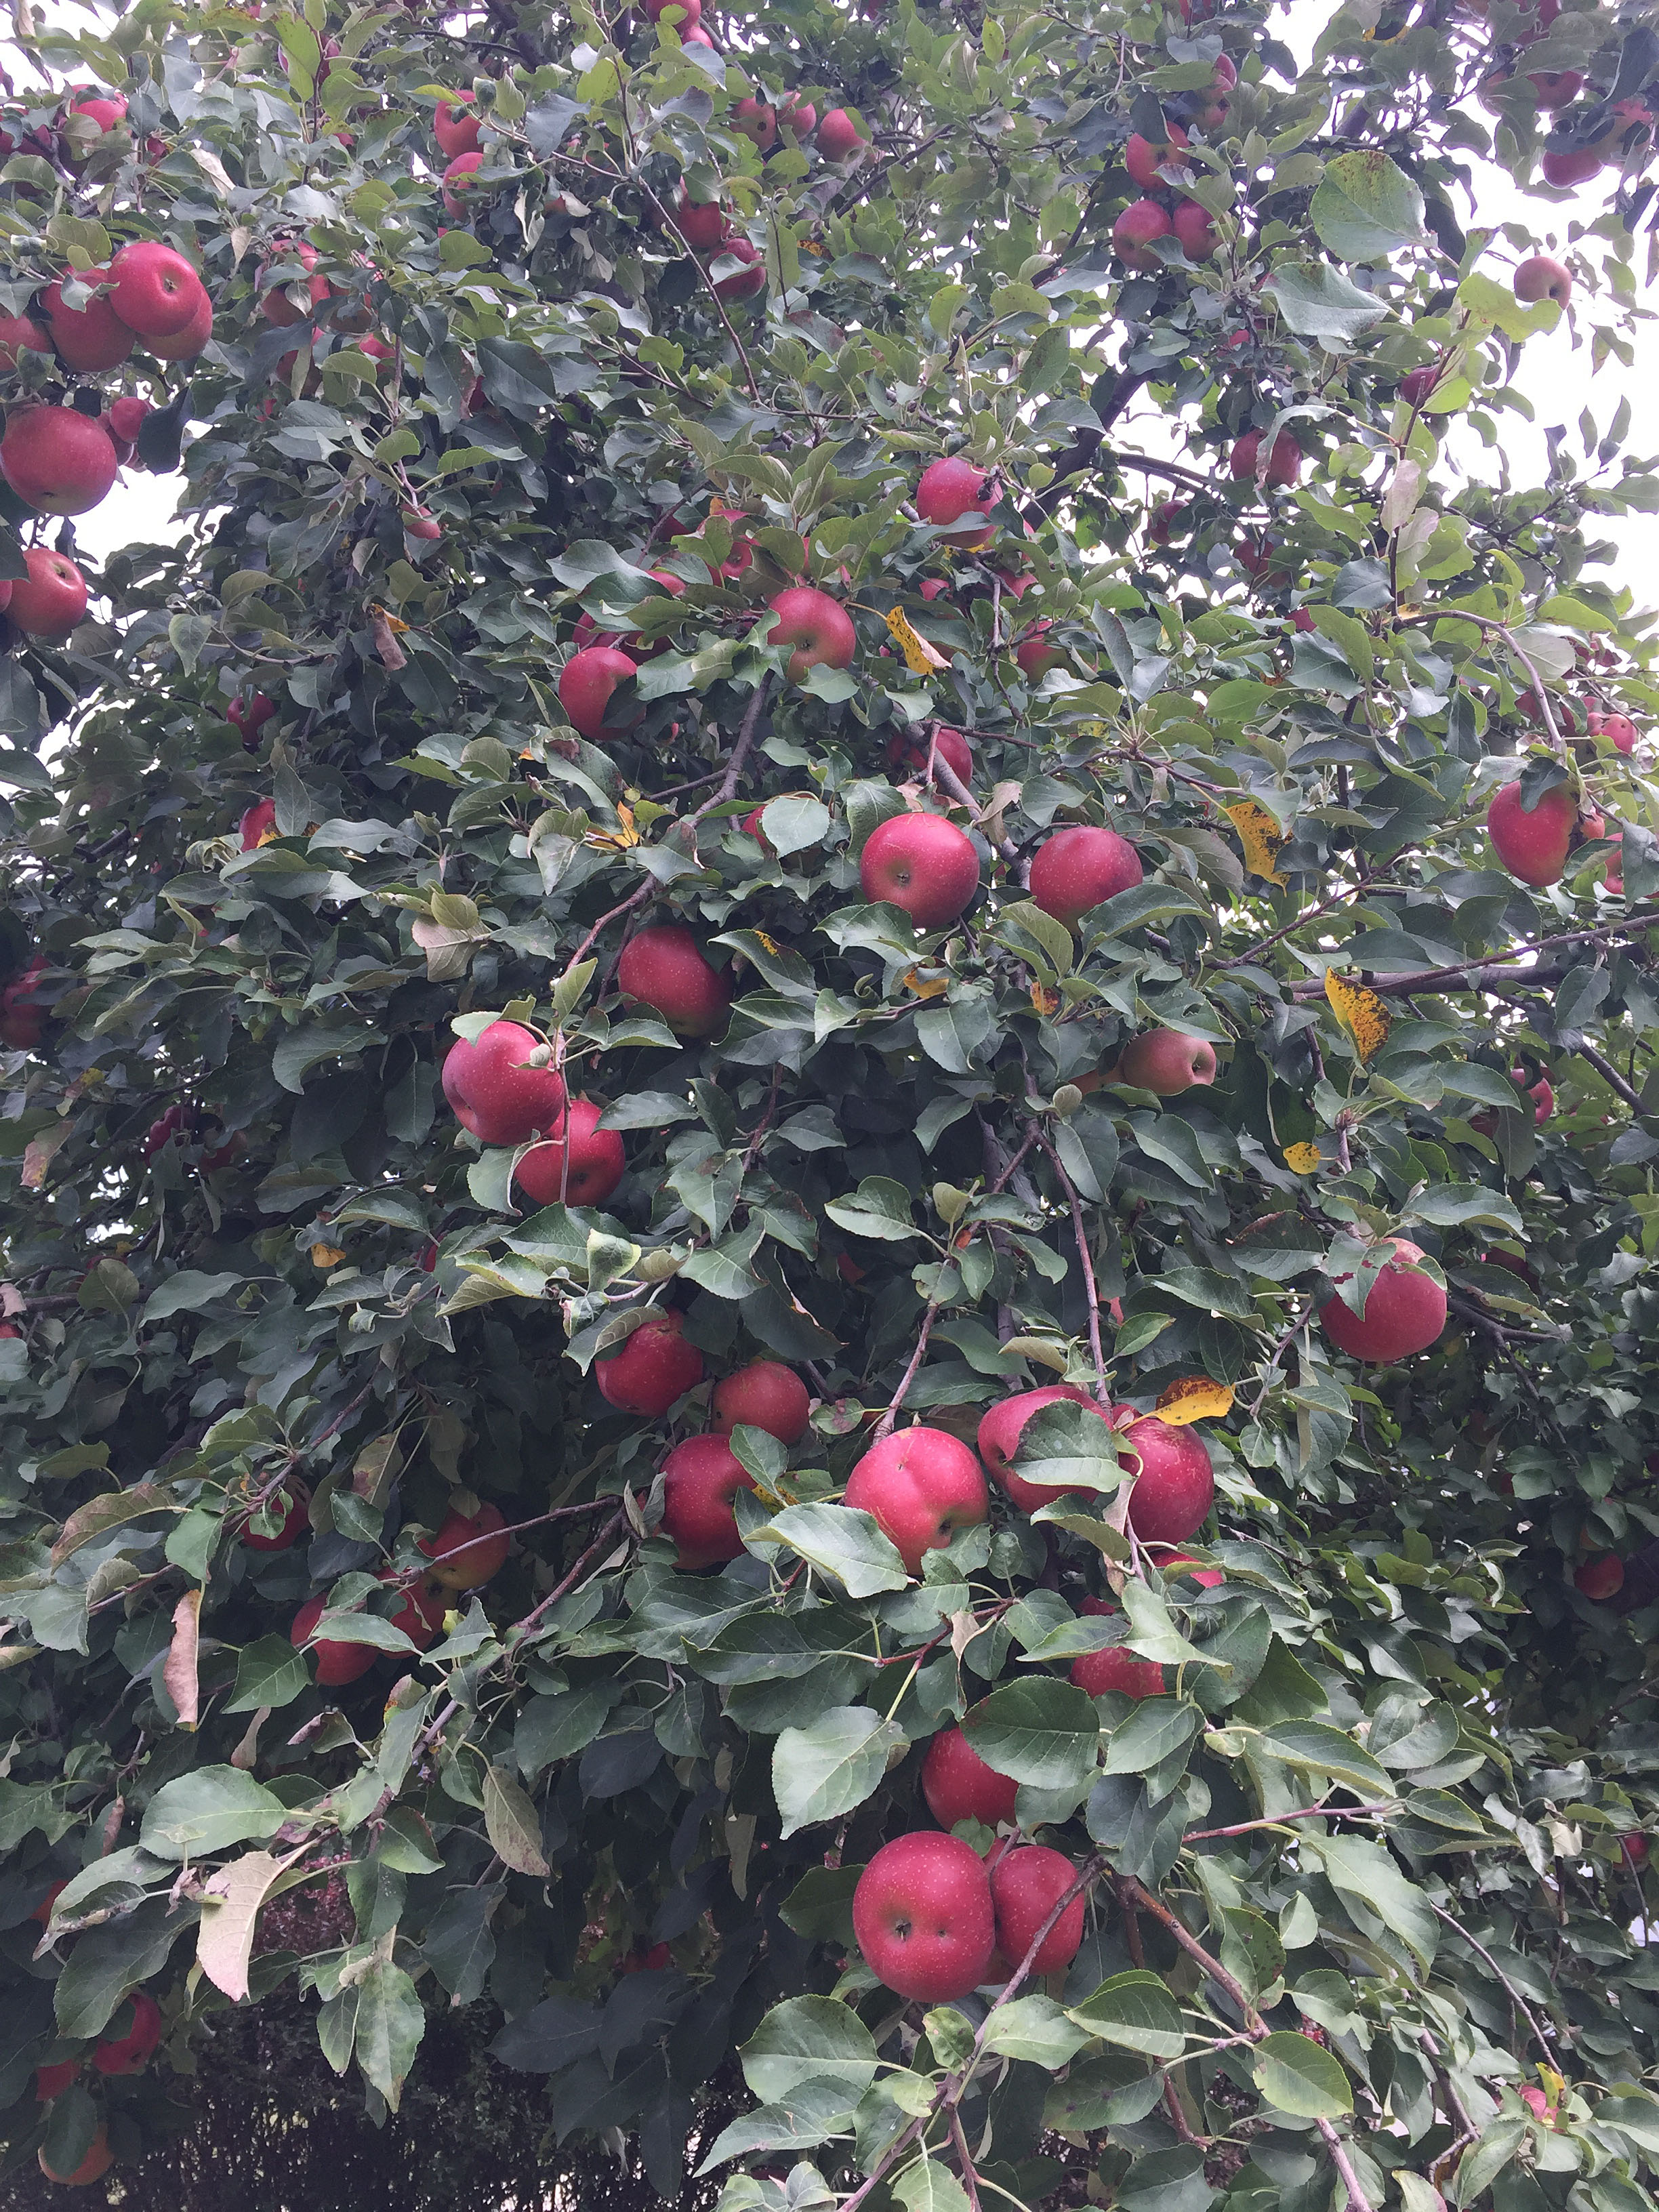
 This year the apple tree at my mother-in-laws house had a bumper crop of apples on it. We were amazed by how many apples this one tree produced. On a sunny Saturday afternoon in September we picked over 400 apples, which left me looking for a great recipe to use up my bags of apples.
 After a few days of thinking about what I wanted to bake, I decided to make apple pie bars with a crumble top. I started experimenting with different ideas for the recipe, and I had plenty of apples to test it out. To help me clean up some of the extra food from my experiments, I had to take on a new helper/recipe tester at Cooking Up Cottage. He’s exceptional at cleaning up dirty plates and cleaning up any food that may fall on the floor. His name is Butterscotch. You can tell from the picture below he’s a big fan of my cooking.
  If you have a bunch of apples and you want to make something great, try this delicious apple pie bar recipe. It will feed a crowd of people, and it will amaze anybody who loves apple pies. Start by peeling and slicing 12 medium apples.
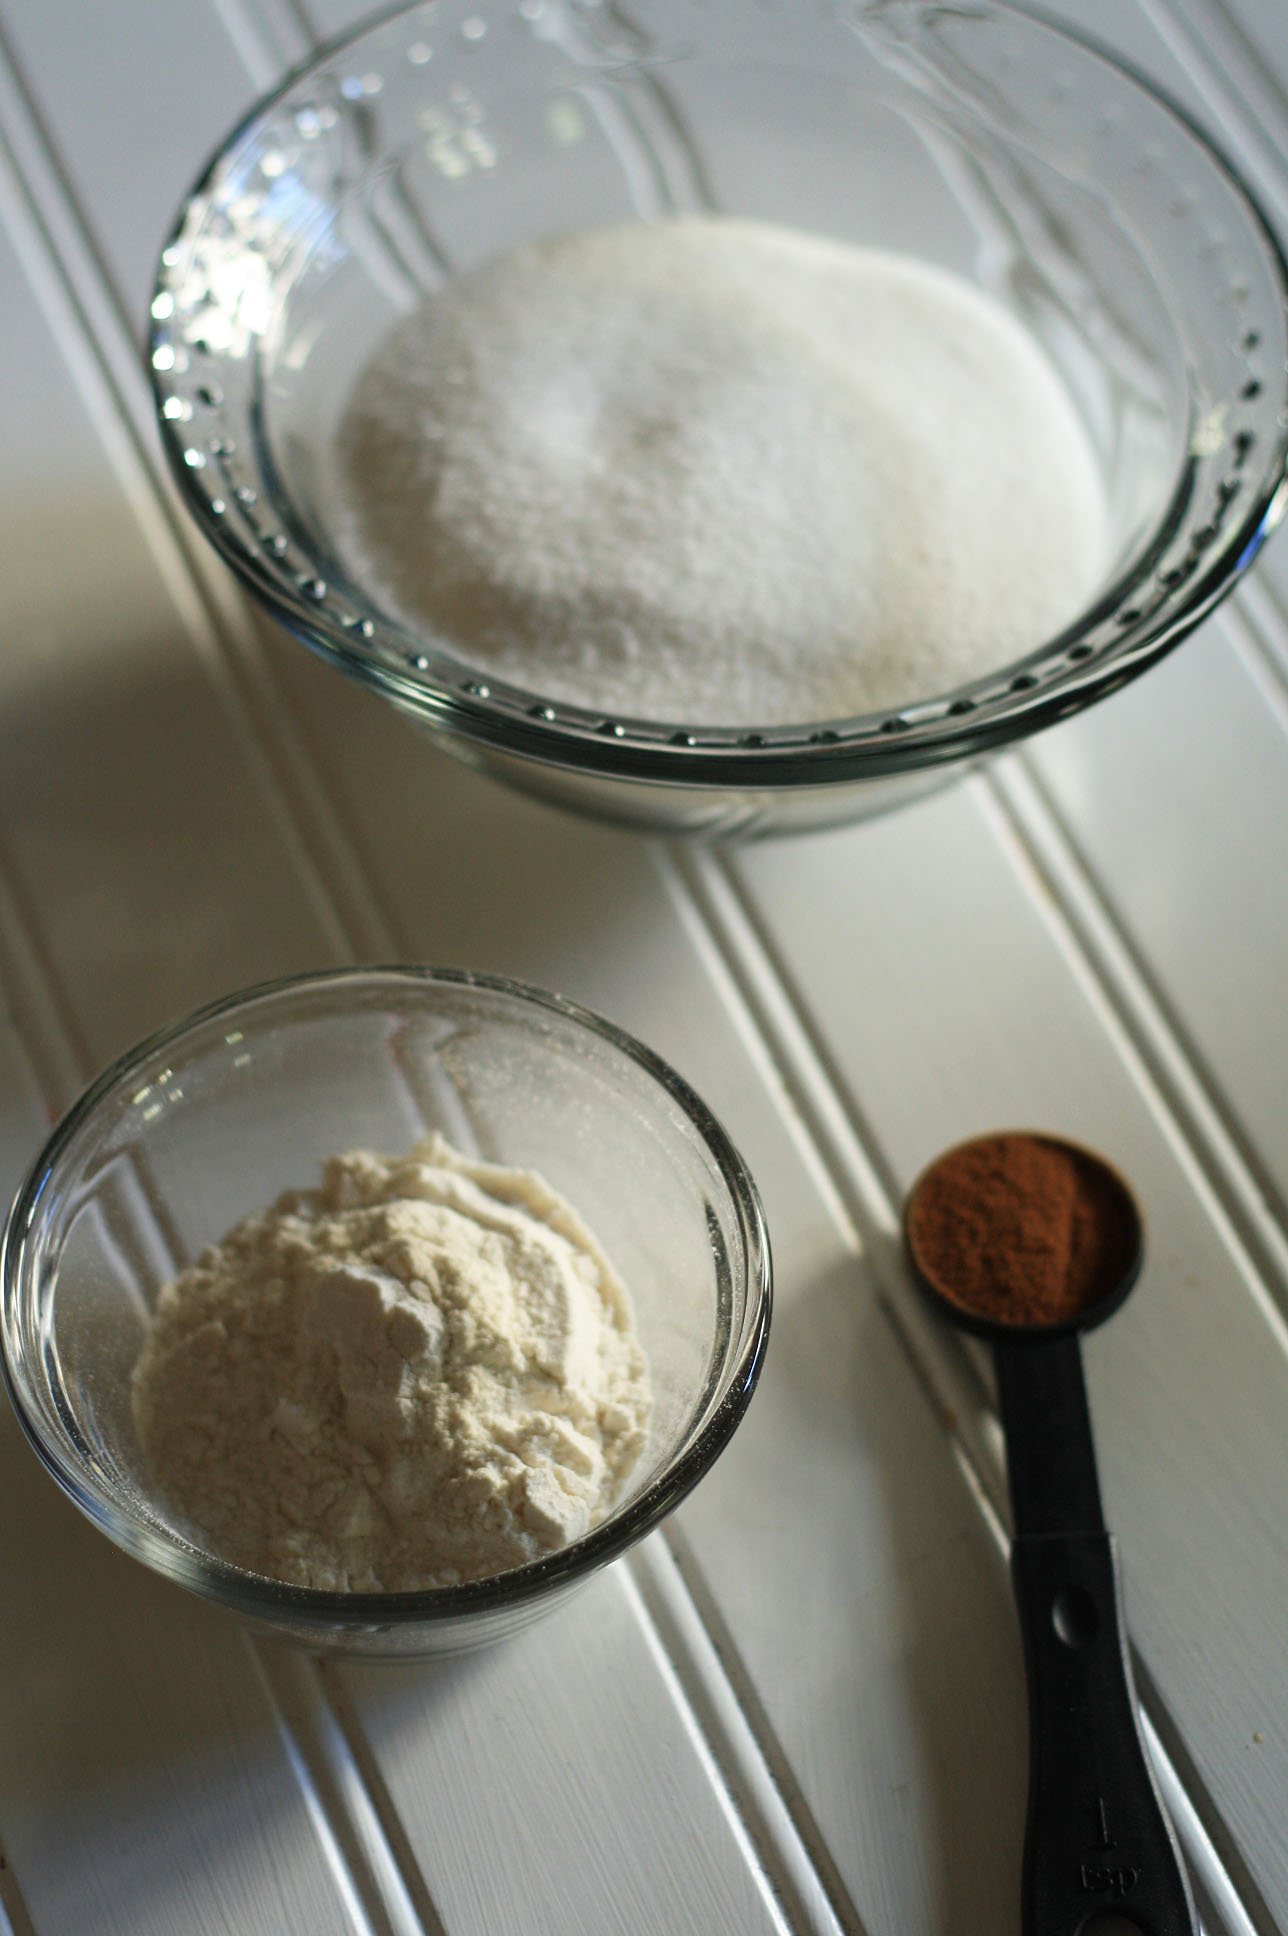
 ![]() Now add 1 1/3 cup of sugar, 1/4 cup of flour, and 1 teaspoon of cinnamon to the apples.
Now add 1 1/3 cup of sugar, 1/4 cup of flour, and 1 teaspoon of cinnamon to the apples.
![]() Now remove the two pie crusts from the box and stack the crusts on top of each other. Then roll out to fit a 10 in x 15 in jelly roll pan.
Now remove the two pie crusts from the box and stack the crusts on top of each other. Then roll out to fit a 10 in x 15 in jelly roll pan.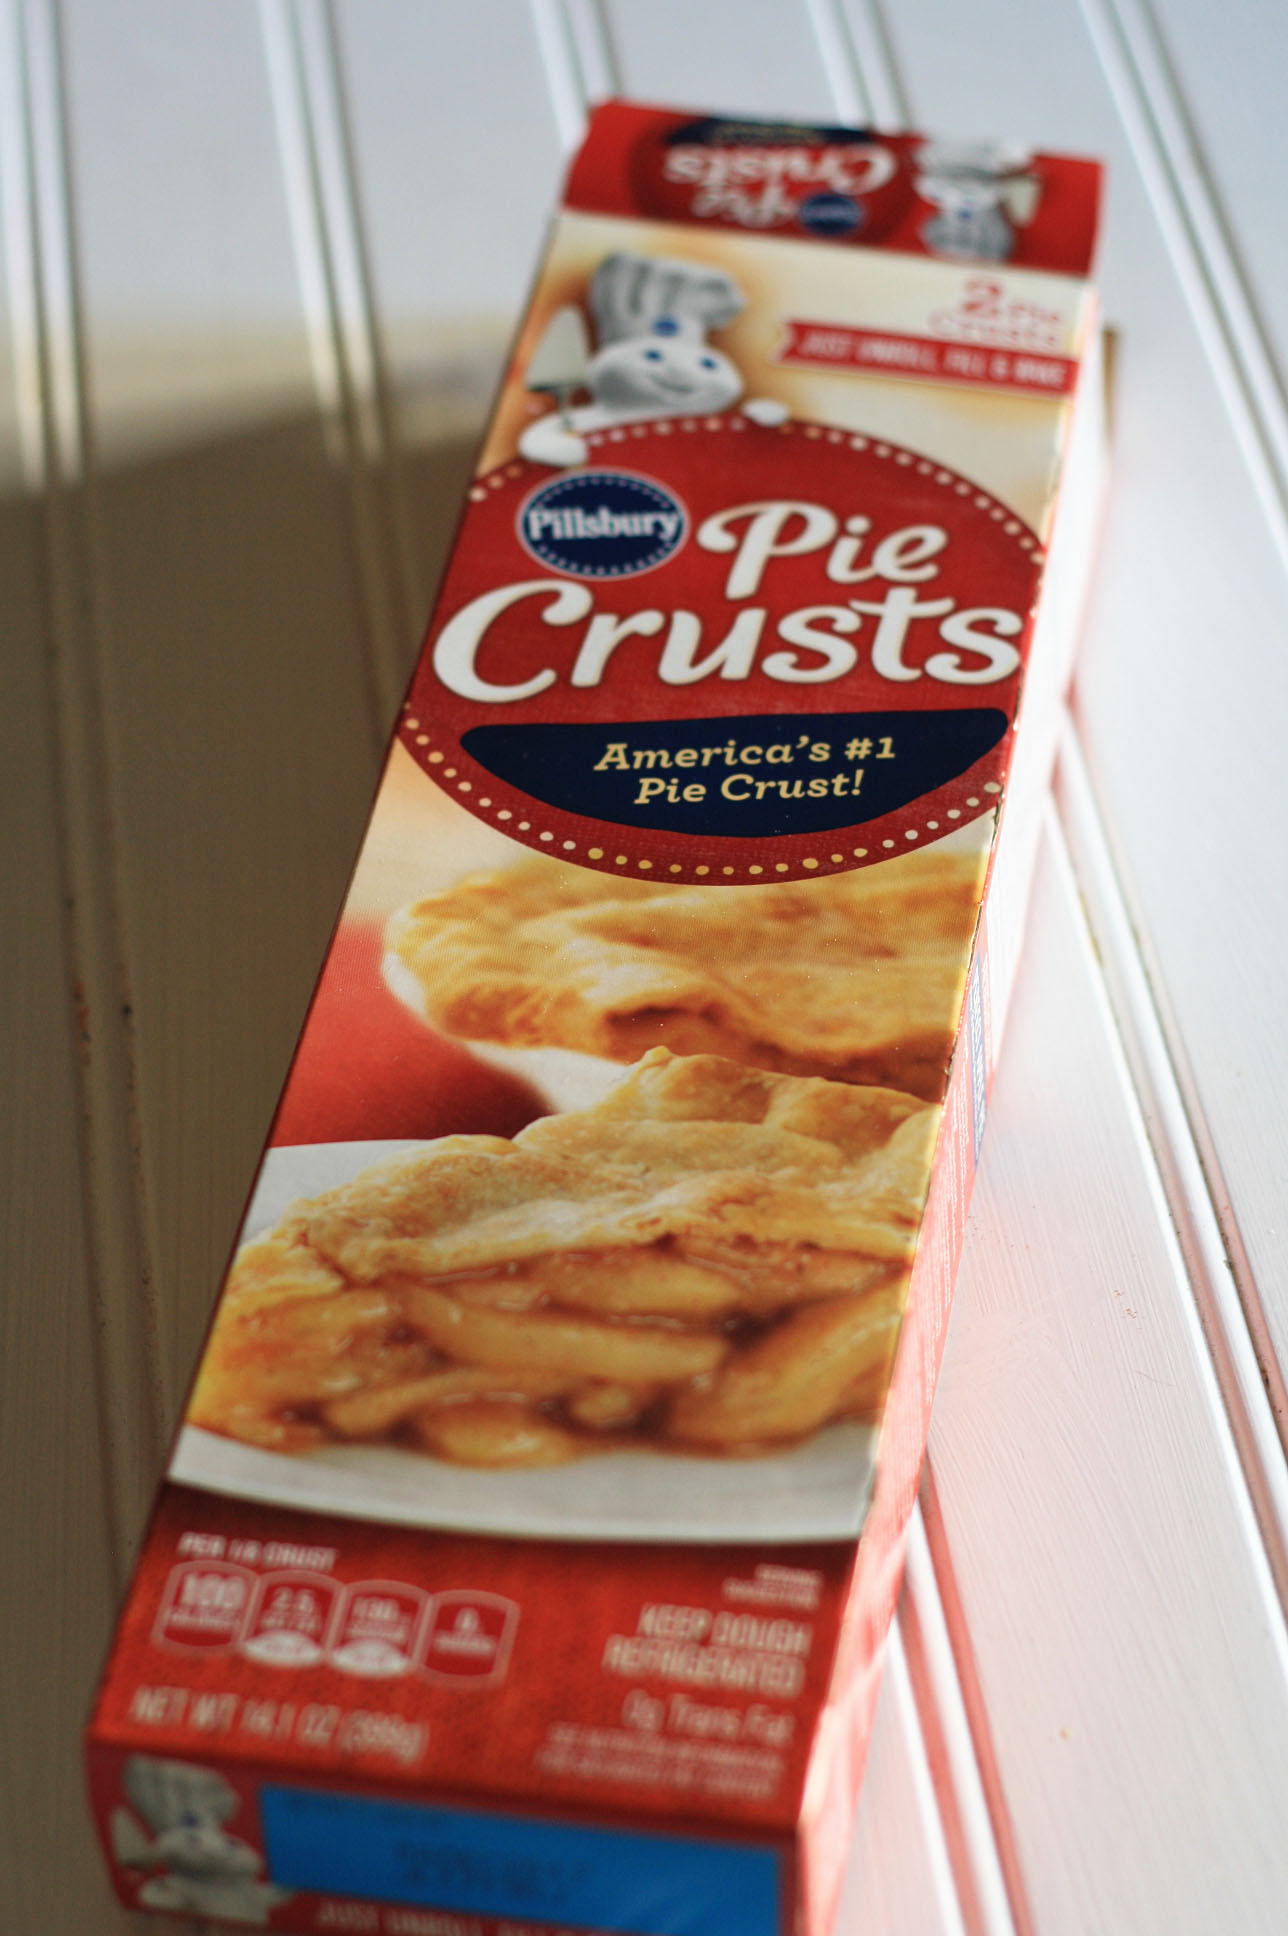
![]() Now fit the crust into the 10 in x 15 in jelly roll pan and crimp the edge of the crust.
Now fit the crust into the 10 in x 15 in jelly roll pan and crimp the edge of the crust.
![]() Pour the apple mixture into the crust.
Pour the apple mixture into the crust.
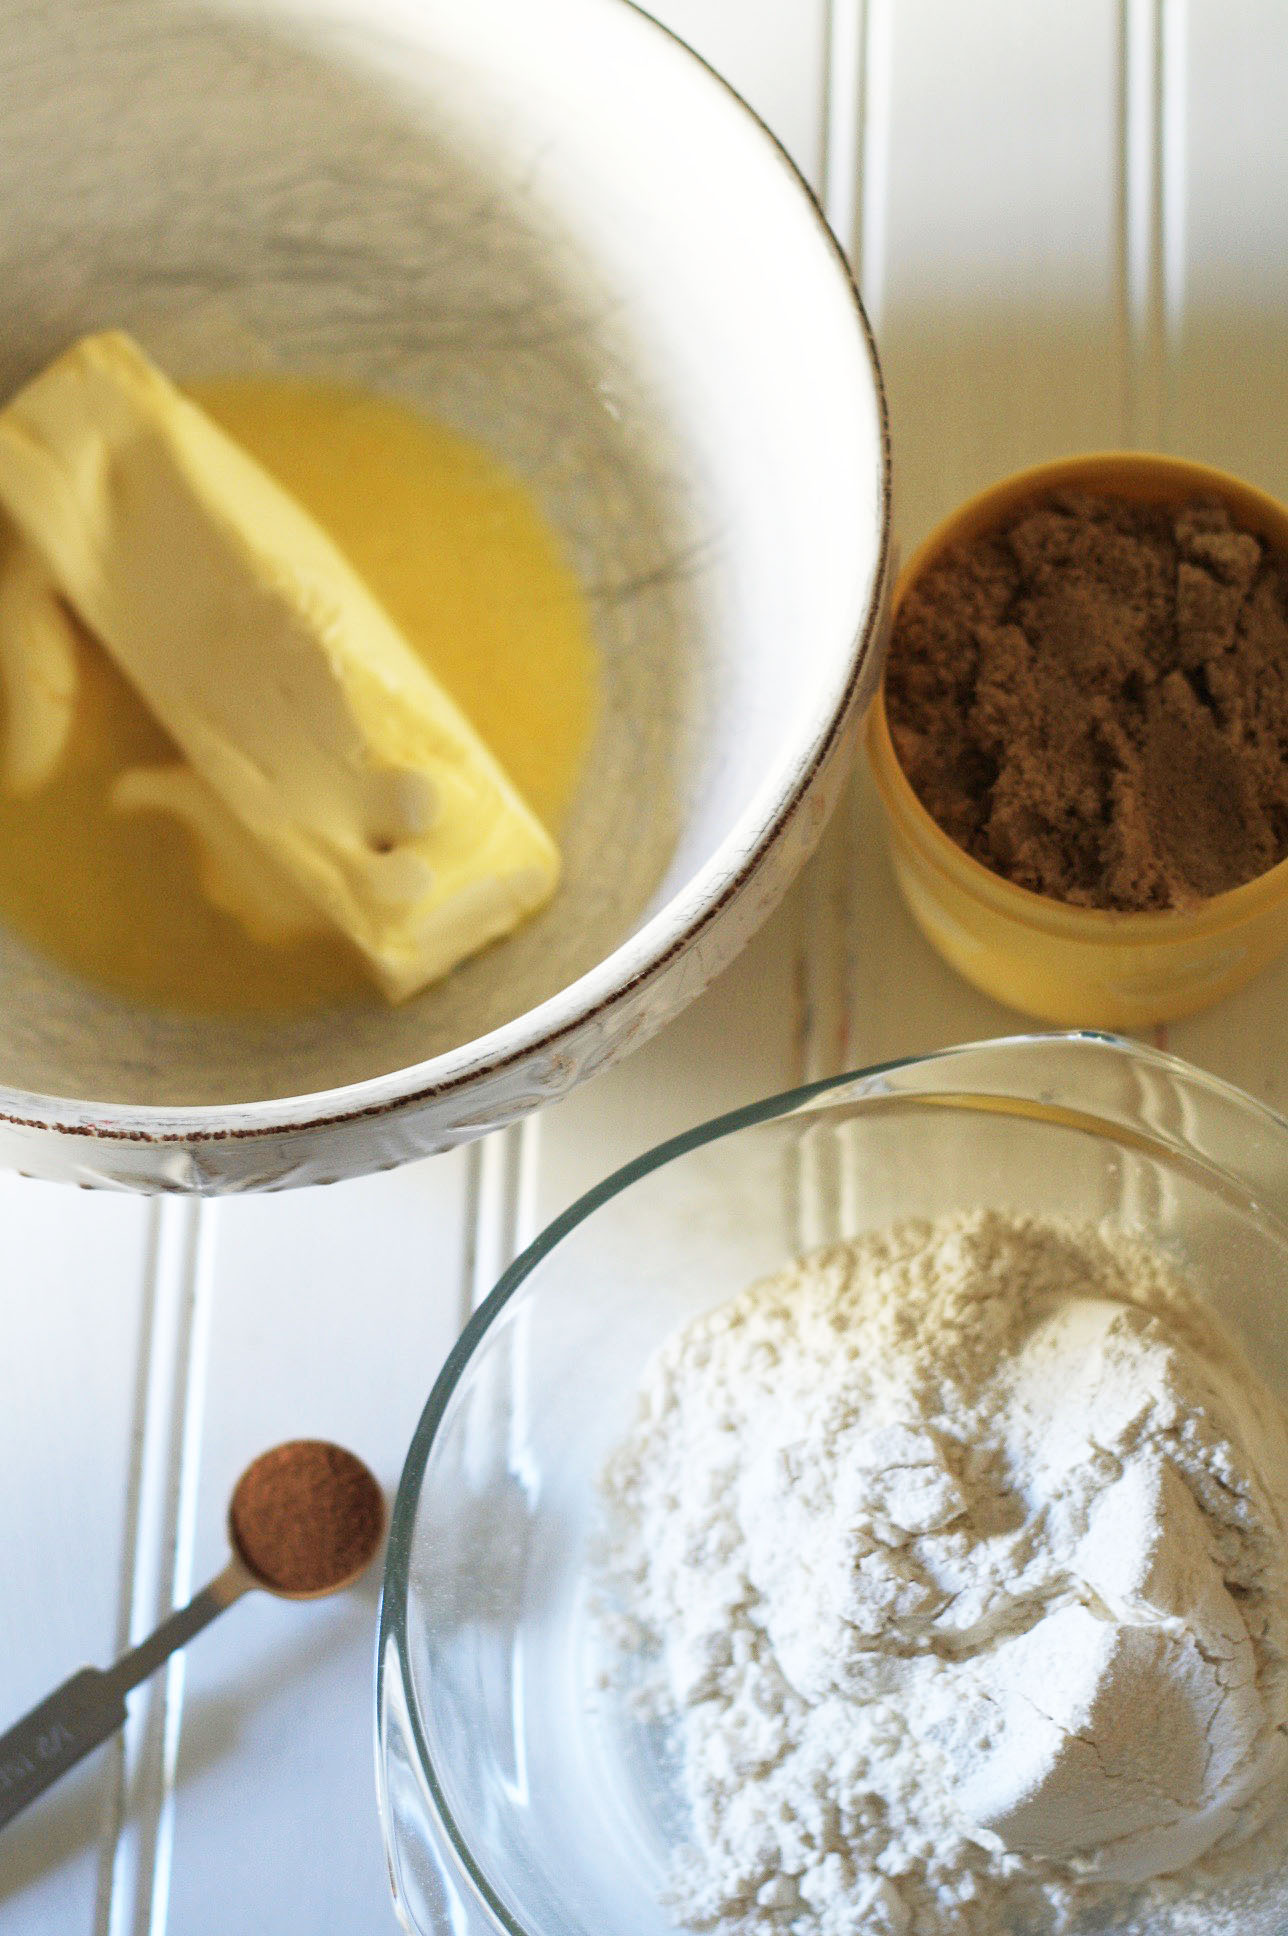
![]() Now mix the crumble topping in a bowl. Mix 1/2 cup of softened butter with 3/4 cup of flour, 1/2 teaspoon of cinnamon and 1 cup of brown sugar.
Now mix the crumble topping in a bowl. Mix 1/2 cup of softened butter with 3/4 cup of flour, 1/2 teaspoon of cinnamon and 1 cup of brown sugar.
![]() Pour the topping on the apples.
Pour the topping on the apples.
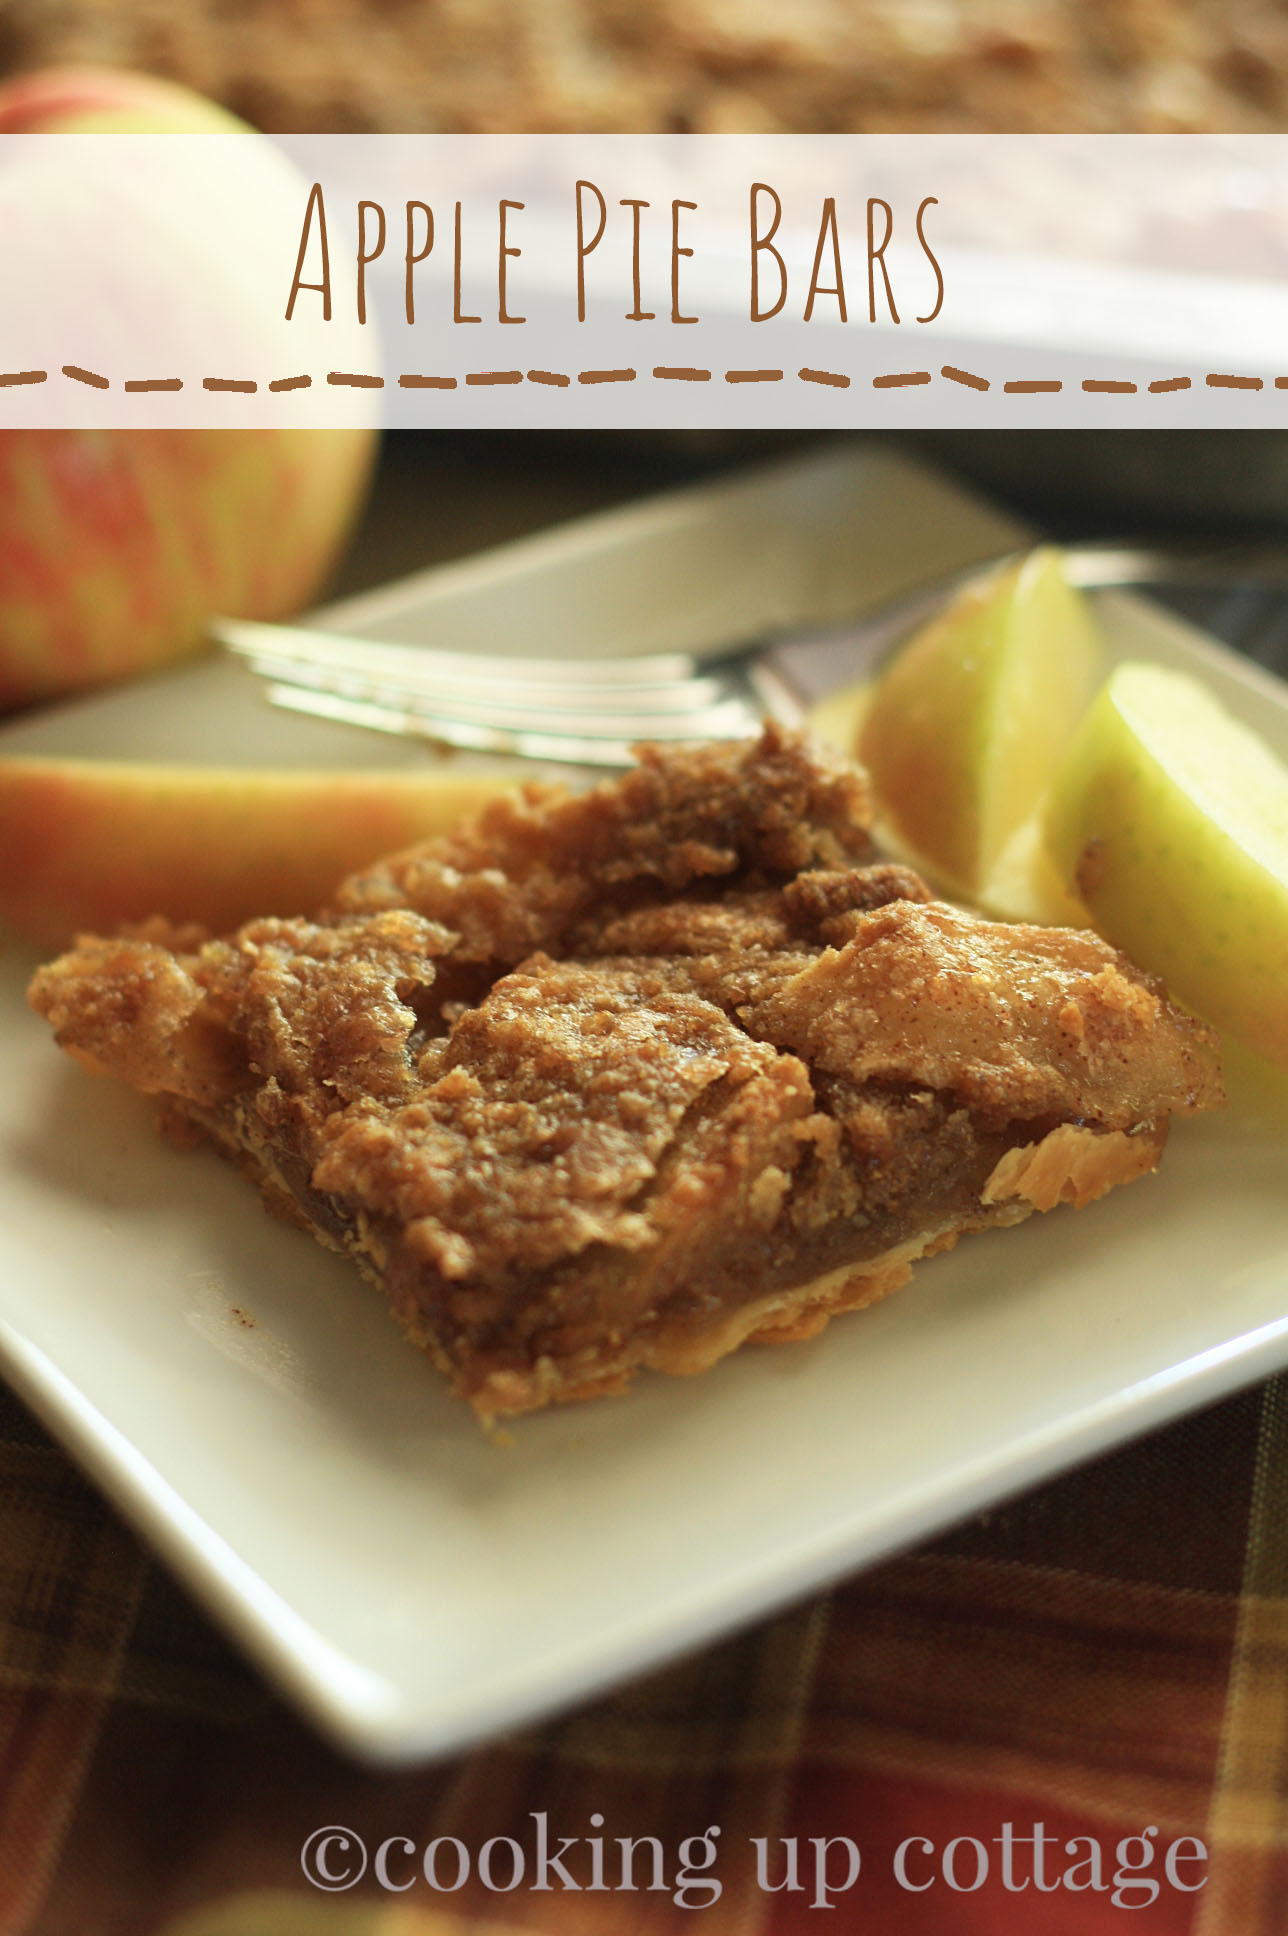
![]() Bake the bars in a 375 degree oven for 50-60 minutes or until the pie is golden brown. Store the leftover bars in the refrigerator. Now you are ready to enjoy this wonderful bar this holiday season.
Bake the bars in a 375 degree oven for 50-60 minutes or until the pie is golden brown. Store the leftover bars in the refrigerator. Now you are ready to enjoy this wonderful bar this holiday season. 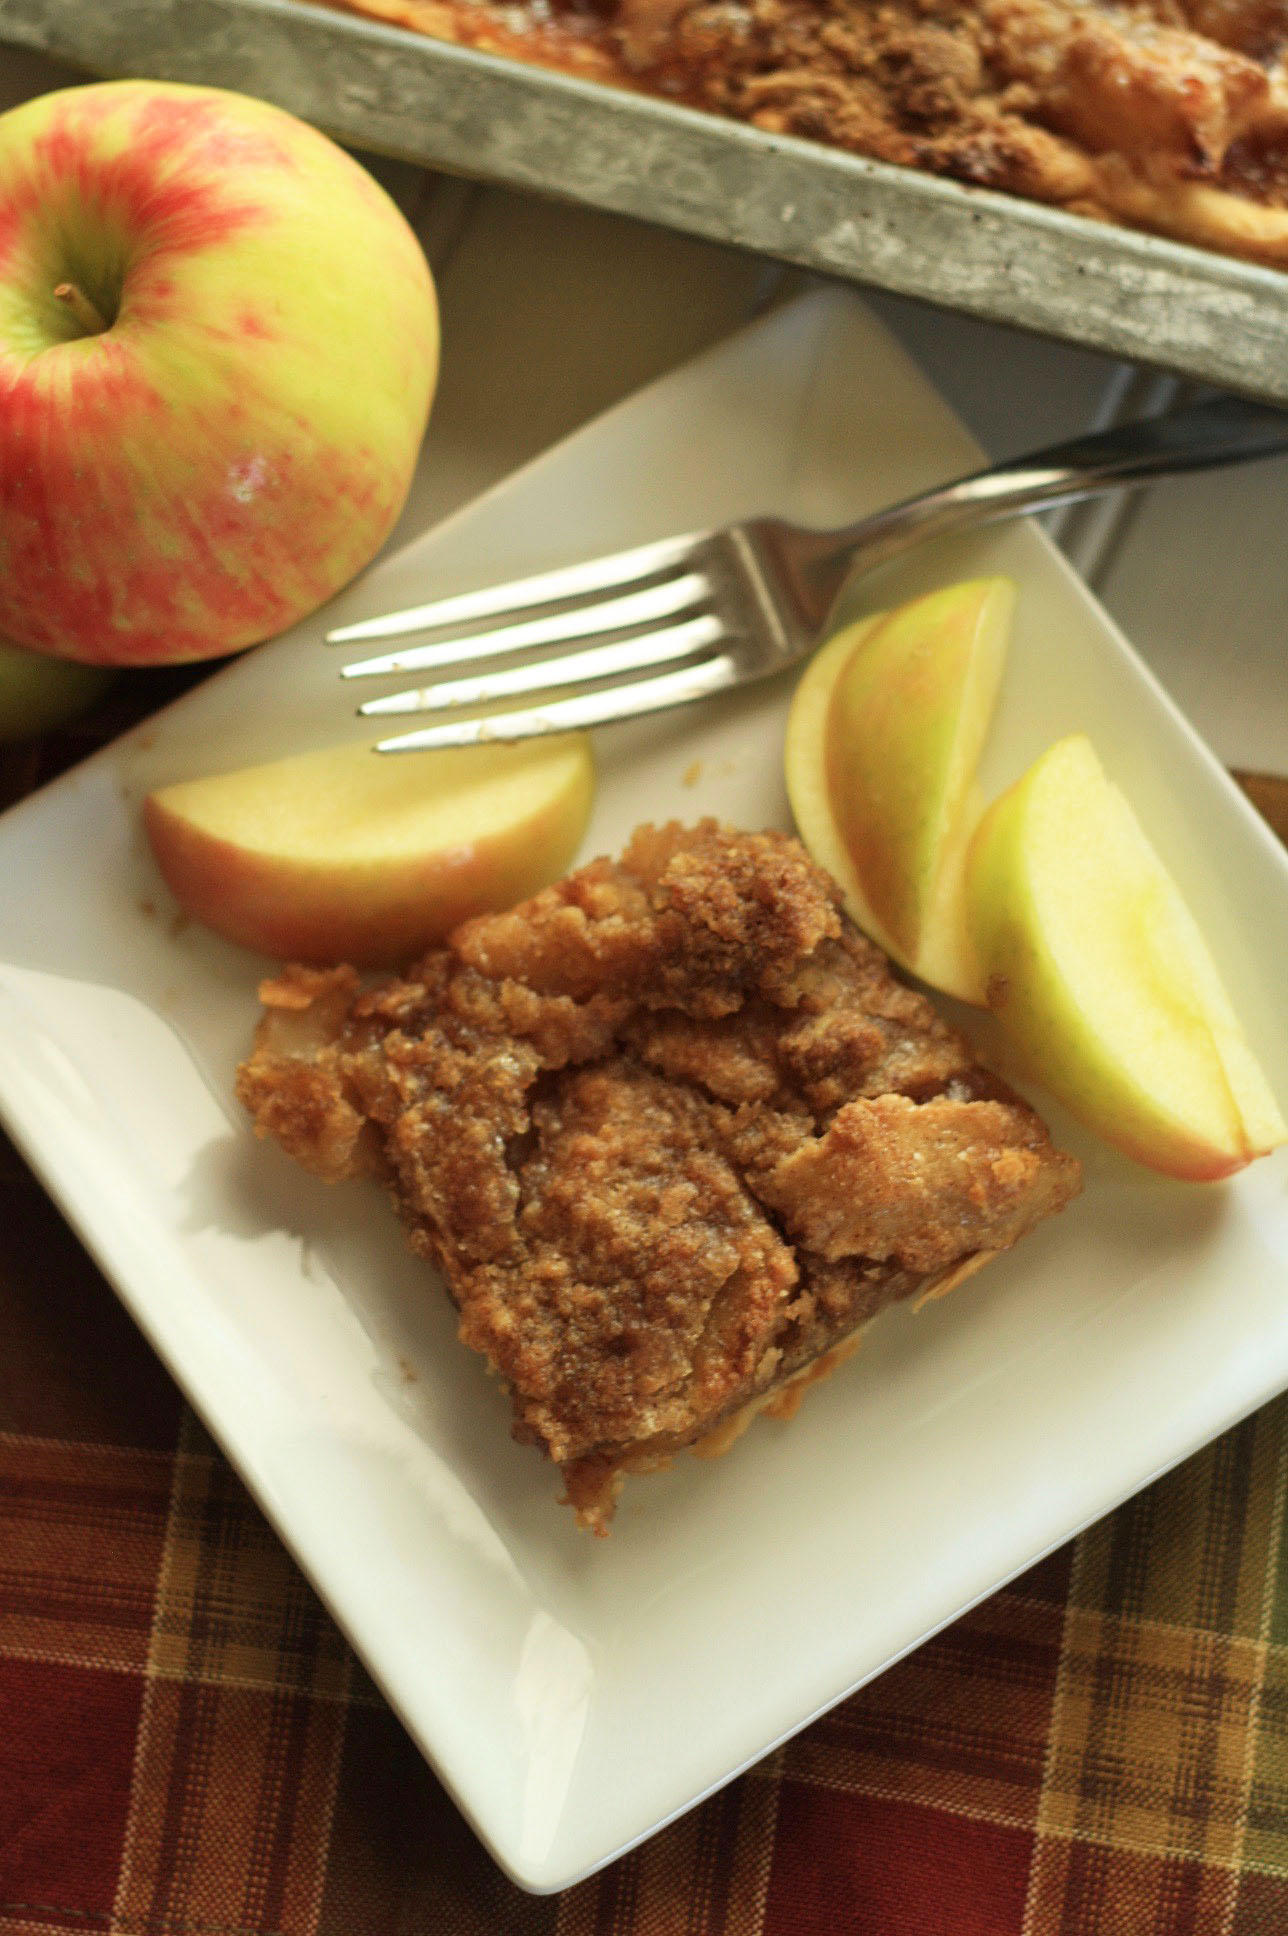
- Pie Filling
- ------------
- 12 medium apples peeled and sliced
- 1 1/3 cups of sugar
- 1/4 cup of flour
- 1 teaspoon cinnamon
- ---------------------------
- 1 (14.1 oz) box of two refrigerator pie crusts
- ---------------------------------------------
- Crumb Topping
- -------------------
- 1/2 cup softened butter
- 3/4 cup flour
- 1/2 teaspoon cinnamon
- 1 cup brown sugar
- Start by peeling and slicing 12 medium apples. Now add 1 1/3 cup of sugar, 1/4 cup of flour, and 1 teaspoon of cinnamon to the apples. Now remove the two pie crusts from the box and stack the crusts on top of each other. Then roll out to fit a 10 in x 15 in jelly roll pan. Now fit the crust into the jelly roll pan and crimp the edge of the crust. Pour the apple mixture into the crust. Now mix the crumble topping in a bowl. Mix 1/2 cup of softened butter with 3/4 cup of flour, 1/2 teaspoon of cinnamon and 1 cup of brown sugar. Pour the topping on the apples. Bake the bars in a 375 degree oven for 50-60 minutes or until the pie is golden brown. Store the leftover bars in the refrigerator.